Lesson 4: An Introduction to variables
Introduction:
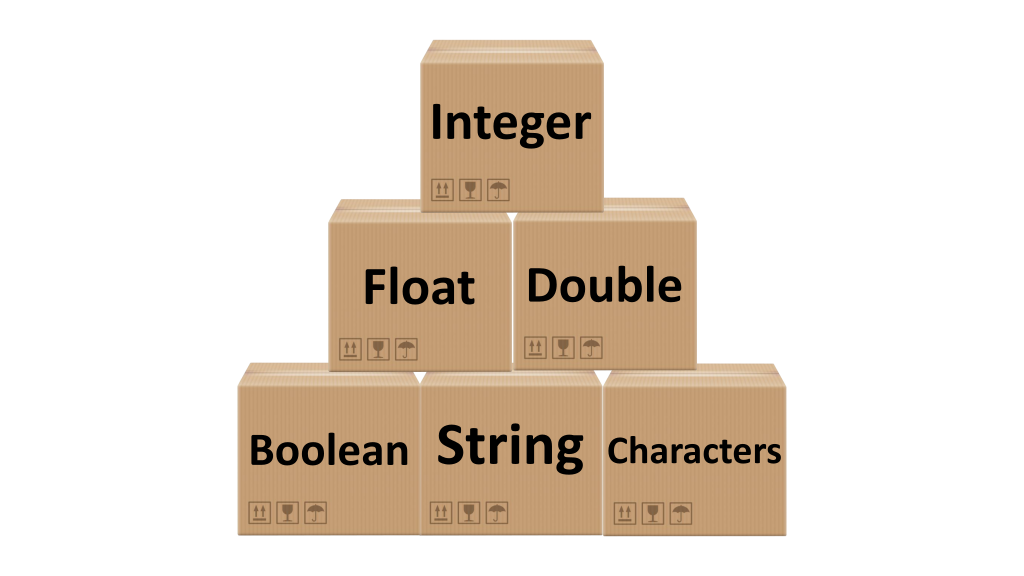
Hello and welcome to circuit academy. In this lesson we will explore the fascinating world of variables. A variable in programming is a uniquely named storage location in memory that holds a value or data. Simply, think of it as a personalized storage box where you can store and manage your data as needed.

Up until now, we are using our Arduino UNO to output digital data using the digital write function—HIGH for 5 volts and LOW for 0 volts.
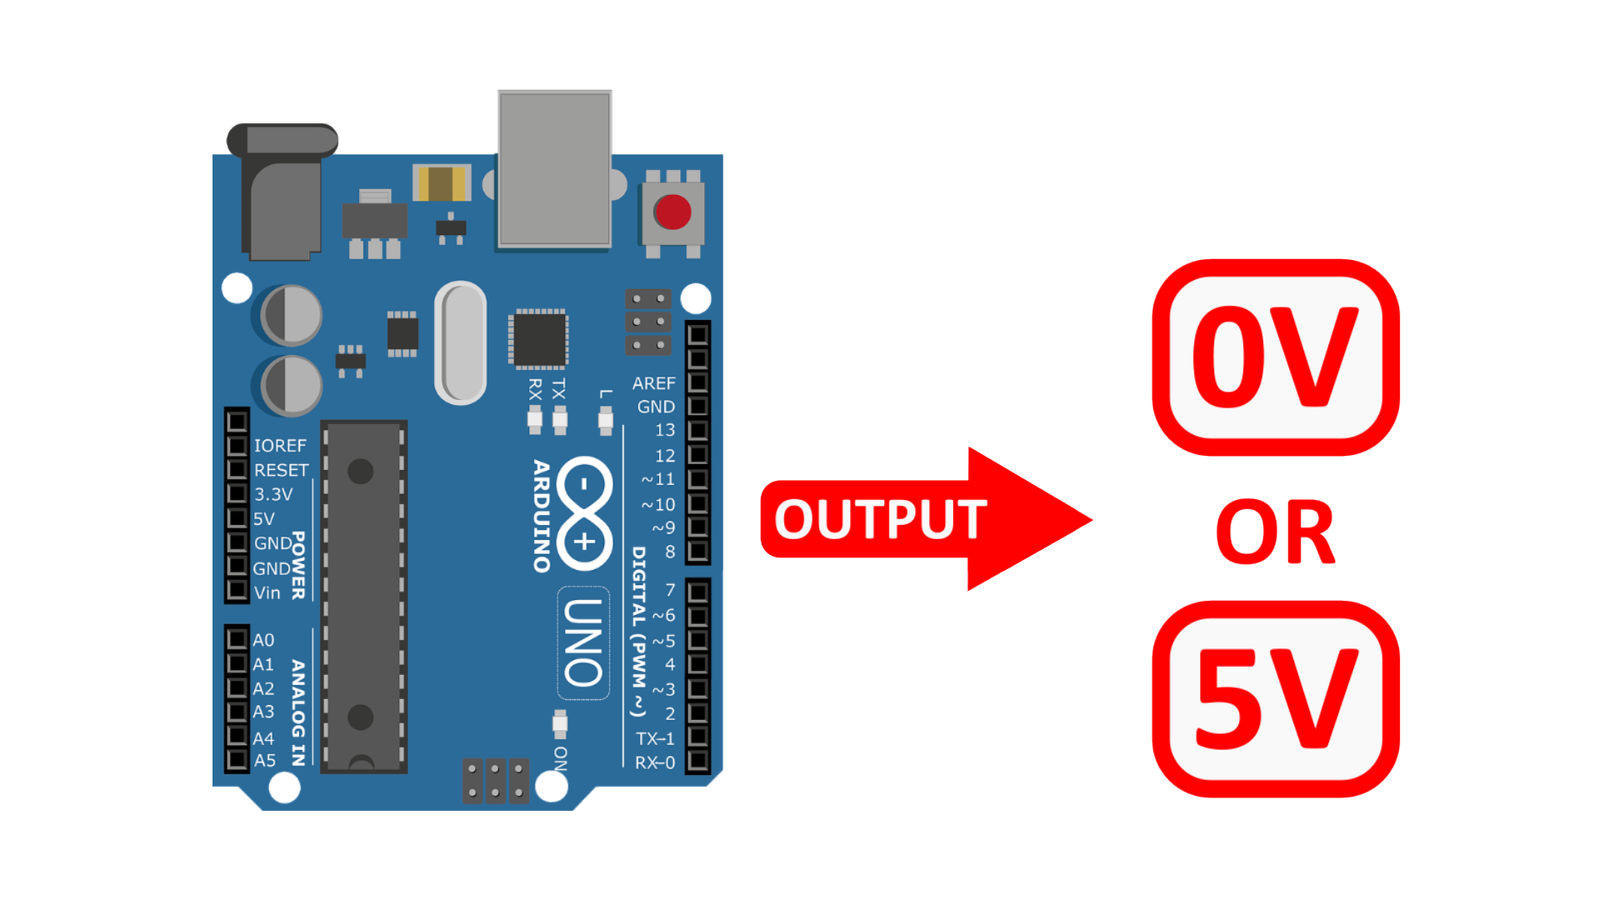
Now, we’re stepping into the world of input, where we retrieve these digital values. But once we have them, it’s crucial to store them for future reference and processing within our code. That’s where variables shine.
Declaring a Variable in Arduino
To use a variable, you must first declare it. The basic syntax of declaring a variable is:
Variable_Data_Type Variable_Name;Variable_Data_Type→ Defines what kind of data the variable will store. some of the common datatypes used in Arduino are int(For storing integer numbers), float(For storing decimal numbers), char(For storing single characters), string(For storing a group of characters) etc. We will discuss data types in detail shortly.Variable_Name→ A unique name that you will use to reference the variable later in the code.
For example, if we want to declare a variable named “Number” which can be used to store integer numbers we will use the “int” data type followed by the name of the variable “Number” as shown,
int Number;Now we have created a variable named “Number” but currently its empty. So If we want, we can store a value in it by simply writing the assignment operator, which is the equals sign (=), followed by the value we want to store. Finally, we will terminate this statement with a Semi Colon.
For example, if we want to store the number “5” in the Number variable. the statement will look something like the one shown below,
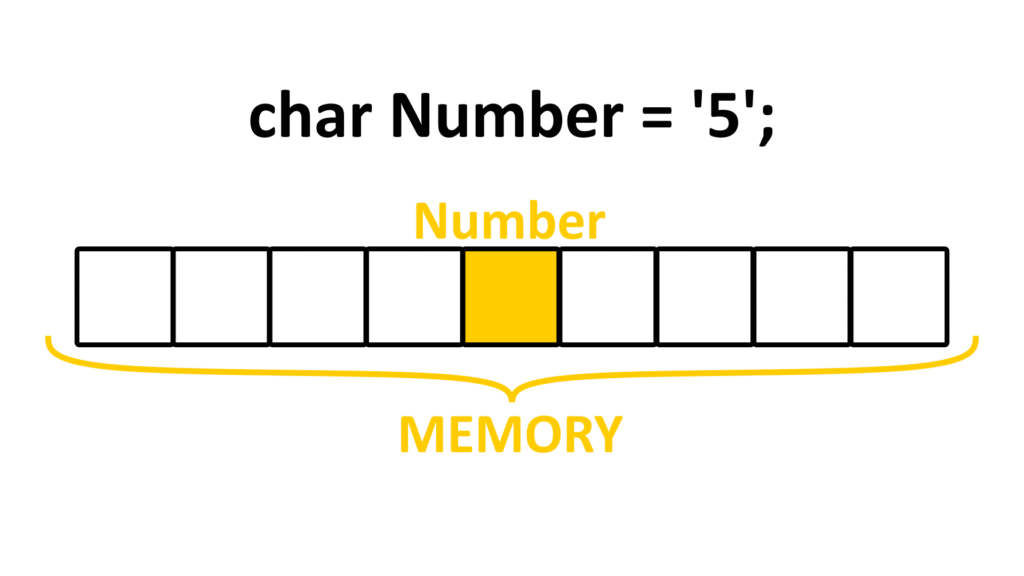
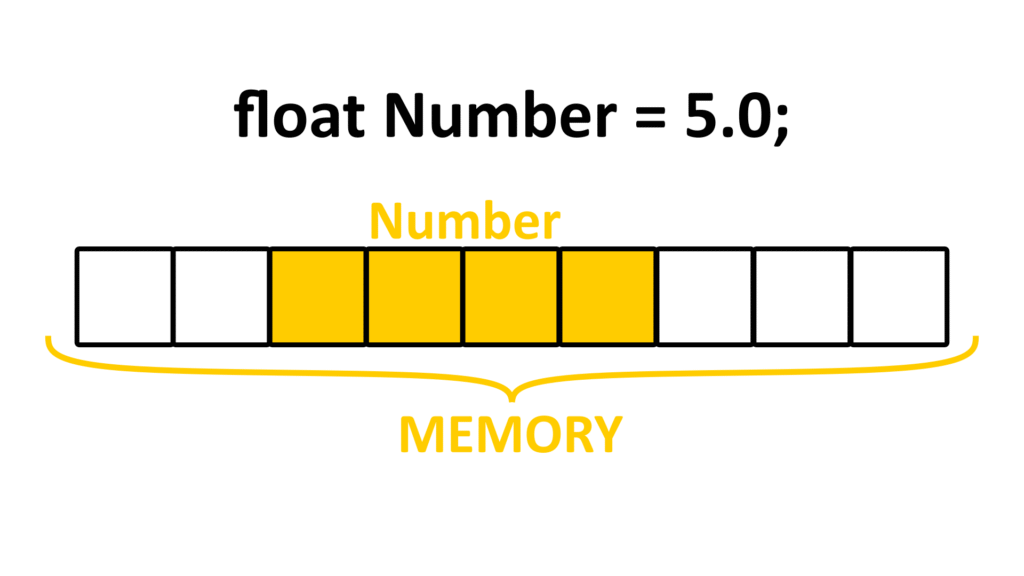
int Number = 5;When the Arduino microcontroller reads this statement, it will allocate a space in memory and name it Number. The size of this allocated memory space depends on the data type we are using.
For example, if we were using a char data type, a memory space equivalent to 1 byte (8 bits) would be allocated to our variable.
If we were using a float data type, we would be allocated 4 bytes of memory.
But since we are using an int data type, we will allocate 2 bytes of memory.
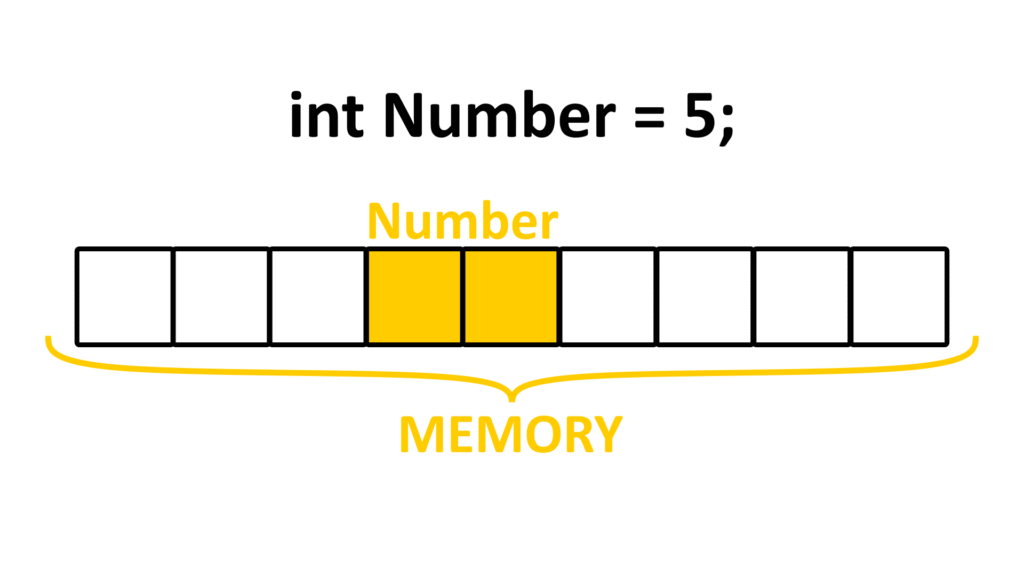
An important point to highlight here is that it’s not compulsory to assign a value to a variable at the time of declaration; we can assign a value to the variable later in the code. So, we can break our initial statement ( int Number = 5; ) into two parts as shown,
int Number;
Number = 5;
- The first part tells the Arduino to allocate memory space for a variable named
numberof theintdata type. - The second part assigns the integer value 5 to that memory space.
How To Name A Variable?
Here are some of the key rules and best practices for naming variables in Arduino:
Naming Rules:
✅ A variable name can contain letters (A-Z, a-z) and numbers (0-9).
✅ A variable name can include underscores (_).
✅ A variable name is Case-sensitive → “Count" and “count" are different variables.
✅ A variable name must start with a letter or an underscore.
❌ A variable name Cannot start with a number ( int 4variable; )
❌ Cannot use spaces or special characters ( int my variable; ), ( int num$ber; )
❌ Cannot be an Arduino keyword ( int delay; ), ( int for; )
Naming Best Practices (What’s Recommended):
- Use meaningful names →
sensorValueinstead ofx - Follow a consistent style:
- Camel Case (Preferred in Arduino): In which First word is lowercase, and subsequent words start with an uppercase letter. (s
ensorValue) - Underscore Naming: In which the words are separated by an underscore “_”. (
sensor_value)
- Camel Case (Preferred in Arduino): In which First word is lowercase, and subsequent words start with an uppercase letter. (s
- Avoid overly long names → Keep it short but descriptive
- Use all caps for constants →
MAX_SPEED = 100;
Variable Data Types:
Imagine you have different boxes for different items—one for books, another for old photographs, and a separate one for electronic components. You wouldn’t want to mix them up, right? Placing books in the box meant for photographs would create chaos.
Similarly, in programming, we use variables as storage containers, each designed to hold a specific type of data. Just as you wouldn’t store books in a box meant for photographs, you shouldn’t store text in a variable meant for numbers. Choosing the right data type for your variable ensures that your program runs smoothly and avoid errors. So, let’s explore some of the different data types we have available in the Arduino eco system.

1️⃣ Byte (Smallest Whole Number Type)
Byte data type is used to store values from 0 to 255 (takes 1 byte of memory).
byte sensorValue = 150;2️⃣ int (Integer – Most Common Type)
int data type is the most commonly used data type and can store whole numbers from -32,768 to 32,767 (takes 2 bytes of memory).
int temperature = -20;3️⃣ long (Large Integer)
long data type is used for large numbers from -2,147,483,648 to 2,147,483,647 (takes 4 bytes of memory).
long bigNumber = 1000000;4️⃣ Unsigned int & long (Only Positive Numbers)
We use unsigned int and long when we don’t need to store negative values in our variable, allowing a larger positive range.
unsigned int distance = 50000; // Range: 0 to 65,535
unsigned long bigDistance = 4000000000; // Range: 0 to 4,294,967,295
5️⃣ float (Decimal Numbers)
Float data type is used to store numbers with decimal points, e.g., 3.14, 23.56 etc. (takes 4 bytes in memory)
float pi = 3.14;
float temperature = -10.5;
6️⃣ Boolean (True/False – 1 Bit)
Boolean or bool data type is used to store one of the two values either it is true (1) or false (0). (takes only a single bit in memory)
bool isActive = true;7️⃣ Char (Single Character)
char data type is used to Store a single ASCII character like ‘A’, ‘5’, ‘@’ etc. Remember we will always enclose characters in single quotation marks(‘ ‘). (takes 1 bytes in memory)
char letter = 'A';8️⃣ String (Multiple Characters)
Unlike char, String can store multiple characters. remember strings are always enclosed in double quotation marks(” “).
String greeting = "Hello, Arduino!";💡 Use Strings carefully as they use more memory.
Examples Of Using Variables:
Now that we have declared a variable, there are many ways to use it. Let’s see some examples.
Example: 1
One thing we can do is change or overwrite the initial value of the variable. We start with a variable named Number, of integer data type, meaning it can only hold whole numbers. We will assign it a value of 15.
int Number = 15;We then call the variable to replace its original value of 15 with a new value of 10. Now the Number variable is holding a value of 10.
int Number = 15;
Number = 10;
Example: 2
Next, we have a similar example but with words. We have a variable named greetings of the string data type, meaning it will accommodate a group of characters enclosed in double quotation marks. Currently, the variable is holding the word “Hello.”
String greetings = "Hello";
Then we can change this word simply by calling the variable name and assigning it the new value “Hi.”
String greetings = "Hello";
greetings = "Hi";
Example: 3
Now let’s consider a more complex example. We have two variables of integer data type: one named total and the other named increment. The total variable is declared without a value, and the increment variable is holding a value of 2.
int Total;
int increment = 2;
We will assign the total variable a value of our increment variable plus 6 as shown below. So the total variable will now be holding a value of 2 plus 6, which is equal to 8.
int Total;
int increment = 2;
Total = increment + 6; // Total variable is now holding the value 8
Example: 4
We can also perform all mathematical operations like addition, subtraction, multiplication and division on variables of the float data type as shown below.
float Number1 = 2.0;
float Number2 = 4.0;
float result;

float sum = Number1 + 5.0; // The value 7.0 will be stored in the sum variable
float division = Number1 / Number2; // The value 0.5 will be stored in the division variable
float subtraction = Number2 - 3.0; // The value 1.0 will be stored in the subtraction variable
float multiplication = Number1 * Number2; // The value 8.0 will be stored in the multiplication variable
Conclusion:
That’s all for this lesson, In this lesson we have learned,
✅ What Variables are
✅ Declaring a variable and assigning it a value.
✅ What are the rules of naming a variable
✅ Different Data Types in Arduino
✅ Finally we look at some examples related to variables.
In the next lesson, we’ll explore conditional statements—how to use them to make decisions in our Arduino code. If you want to learn how to make sounds with buzzers, be sure to check out the previous lesson!
For more tutorials, visit our website and YouTube channel. And don’t forget to share it with your friends—we’ll see you in the next lesson! 🚀


